
How To Install A Toilet Flange
- Home improvement
admin
- 0
- 6 minutes read
toilet flange
Introduction:
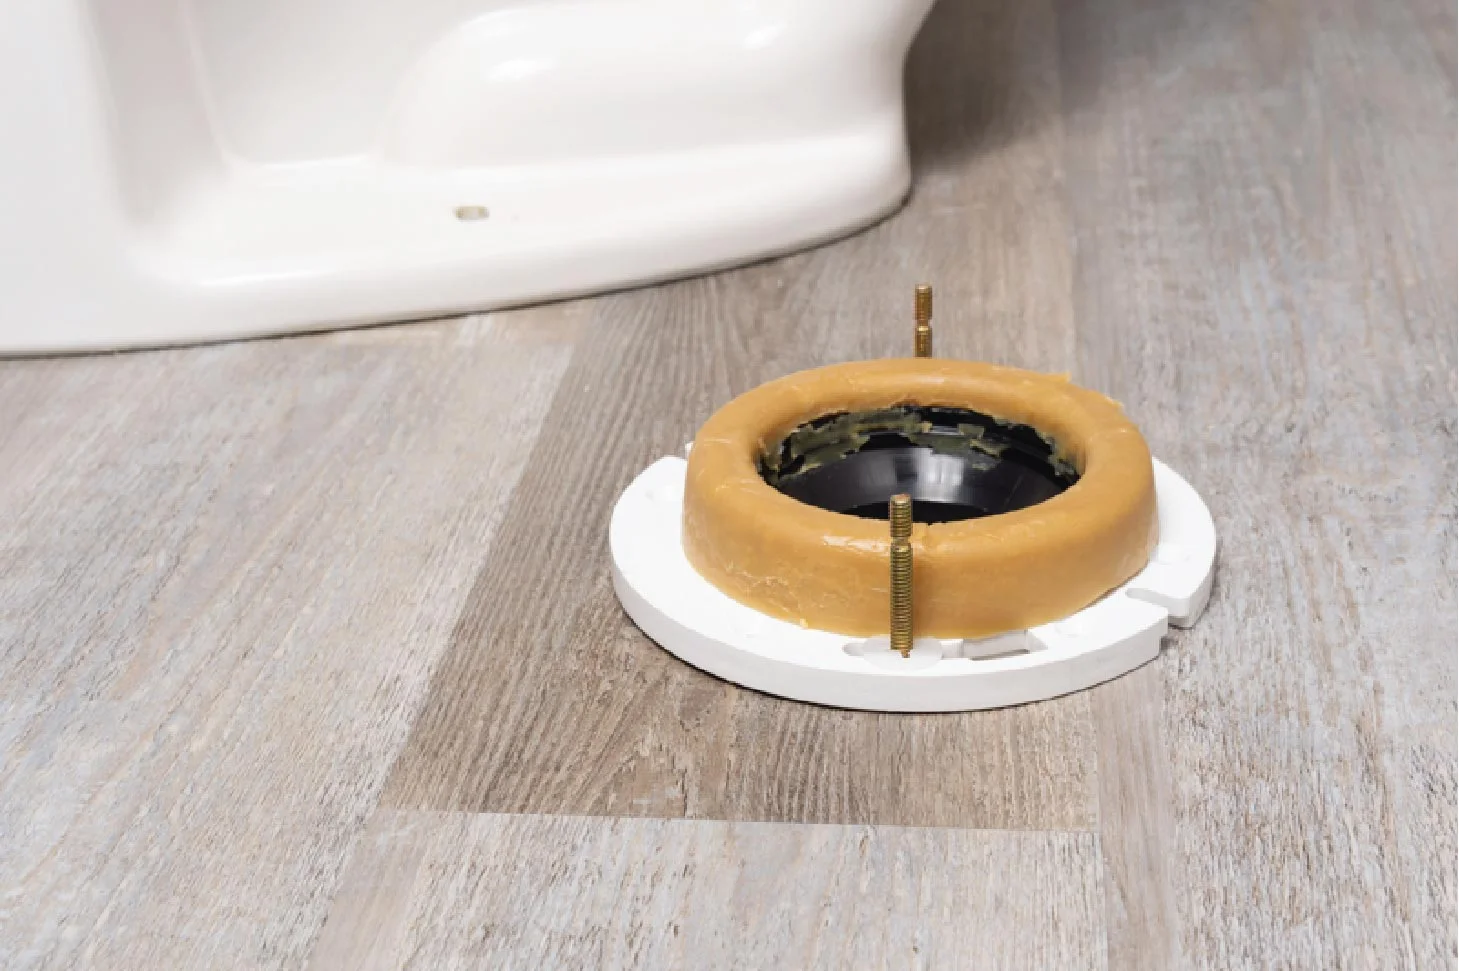
A toilet flange, also known as a closet flange or floor flange, is a pipe connection that links the toilet drain to a drain pipe and organizes a toilet to the floor. The toilet is installed on top of the floor, which is also linked with the drain pipe.
Tools and Materials You’ll Need:
- Toilet flange kit (includes flange, wax ring, and bolts)
- Adjustable wrench
- Screwdriver
- Hacksaw or PVC pipe cutter (if needed)
- Measuring tape
- Pipe sealant (optional)
- Safety goggles and gloves
Step 1: Remove the Old Flange (If Necessary)
1.1 Turn off the toilet’s water supply. 1.2. Remove the toilet by unscrewing the base nuts and carefully heading it up. 1.3. If you’re replacing an existing flange, detach the old one from the floor or cut it out if it’s bonded.
Step 2: Prepare the Pipe and Floor
2.1. Make sure the drainpipe is spotless and debris-free. 2.2. Calculate the distance from the top of the drainpipe to the finished floor. This will enable you to choose the ideal flange height.
Step 3: Install the New Flange
3.1. Choose the appropriate type of flange (PVC or cast iron) based on your drainpipe material. 3.2. Insert the flange into the drainpipe, aligning the slots for the closet bolts with the toilet’s mounting holes. 3.3. Secure the flange to the floor using screws or bolts. Make sure the flange is level with the floor surface.
Step 4: Attach the Wax Ring and Bolts
4.1. Place the wax ring onto the flange with the tapered side facing the toilet. 4.2. Insert the closet bolts into the flange slots, ensuring they are vertical and evenly spaced.
Step 5: Position the Toilet
5.1. Carefully lower the toilet bowl onto the wax ring and closet bolts. 5.2. Press down firmly to compress the wax ring and create a watertight seal.
Step 6: Secure the Toilet
6.1. Place washers and nuts onto the closet bolts and tighten them evenly using an adjustable wrench. Be cautious not to overtighten and crack the toilet. 6.2. Trim any excess length from the closet bolts using a hacksaw or PVC pipe cutter.
Step 7: Reconnect the Water Supply
7.1. Reconnect the water supply line to the toilet’s fill valve. 7.2. Turn on the water supply and check for leaks around the connection points.
Step 8: Test and Seal
8.1. Carefully flush the toilet and observe the water flow and drainage. 8.2. If there are any leaks or movement, adjust the bolts and flange as needed. 8.3. Apply pipe sealant around the base of the toilet where it meets the floor to prevent odors and gas from escaping.
Congratulations, you’ve successfully installed a toilet flange! Remember that if you’re not comfortable with any part of this process, it’s always a good idea to consult a professional plumber to ensure proper installation and avoid potential issues
